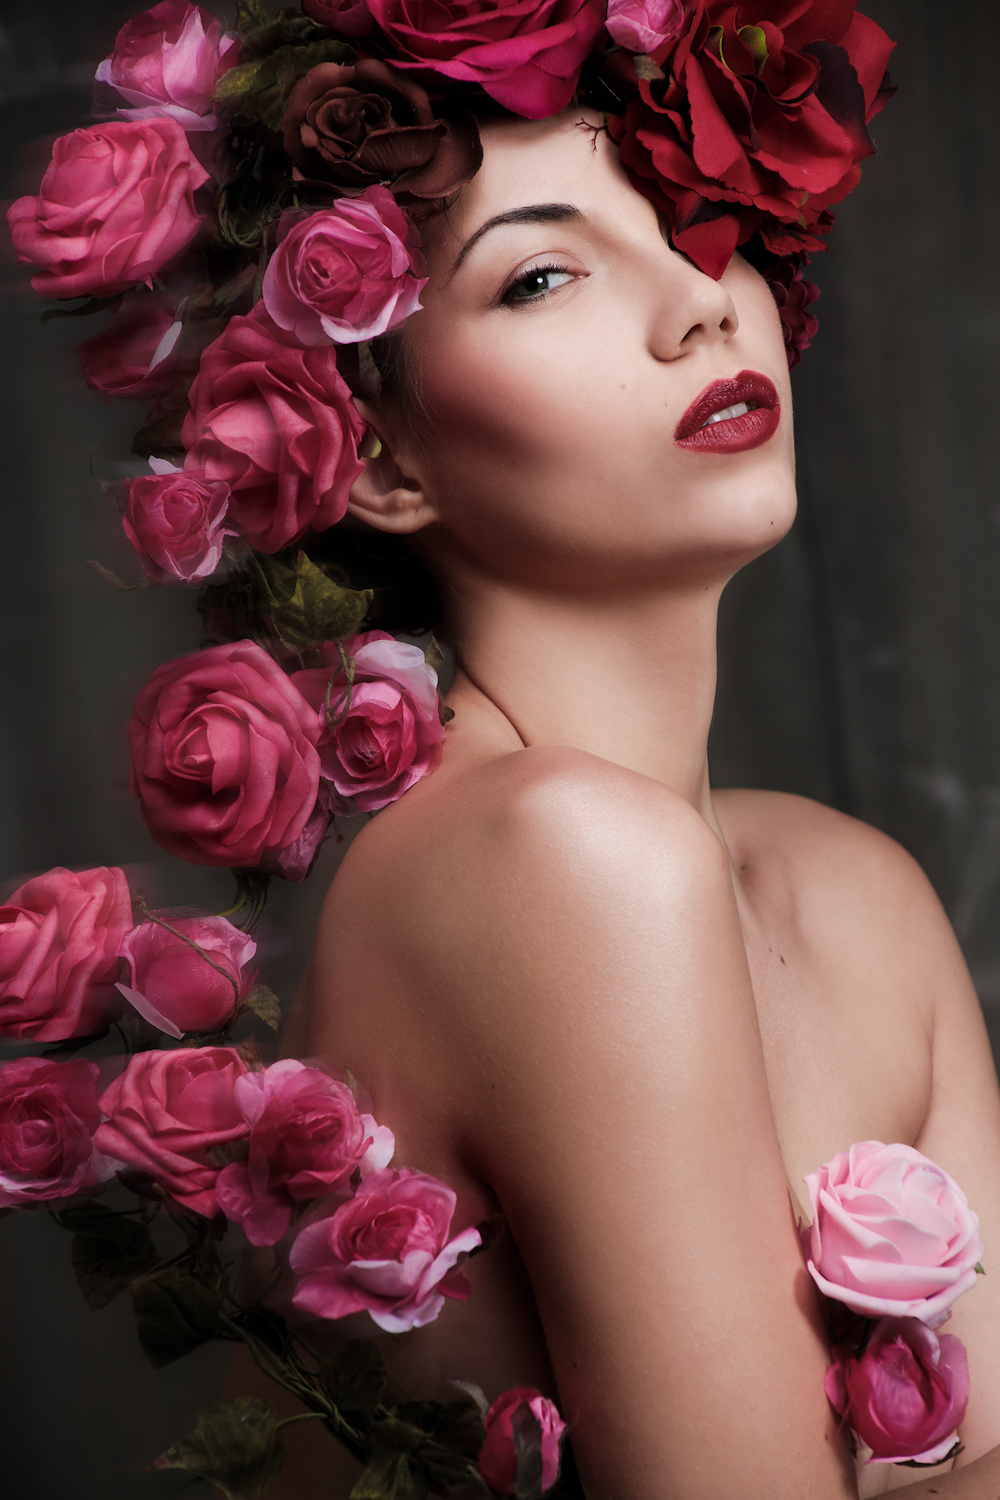
I’ve been wanting to shoot with flowers again for a long time, and am very glad I got the opportunity to work with a great creative team: MUA: Suki Miles, Models: Natalia and Delina, Studio: Adrian Pini Studio.


I’ve been wanting to shoot with flowers again for a long time, and am very glad I got the opportunity to work with a great creative team: MUA: Suki Miles, Models: Natalia and Delina, Studio: Adrian Pini Studio.
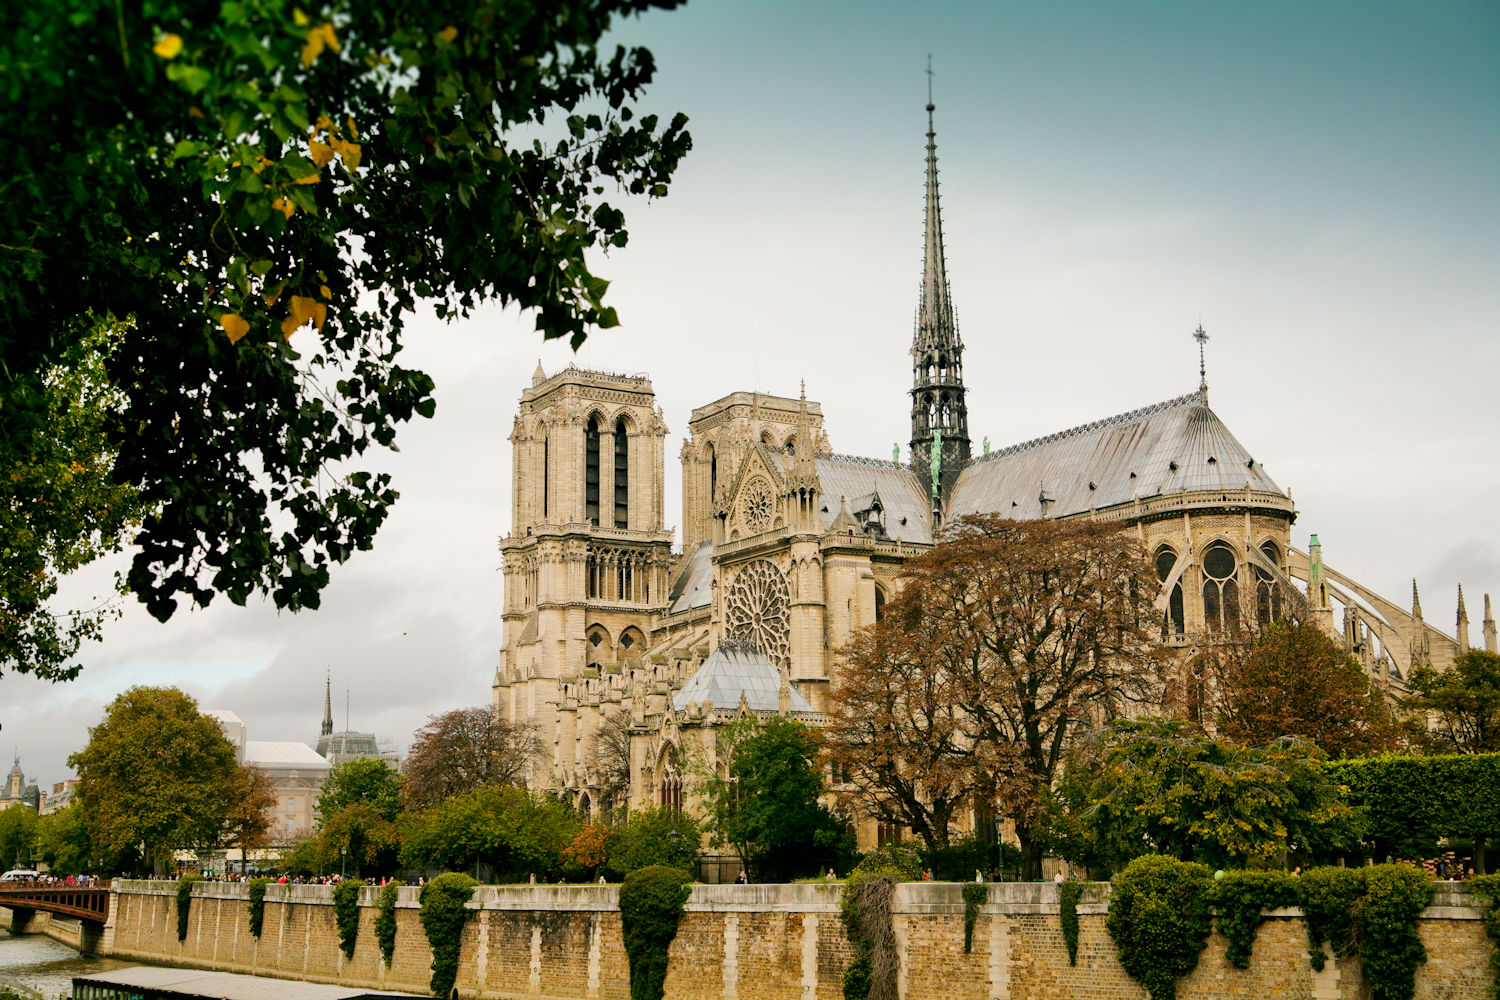
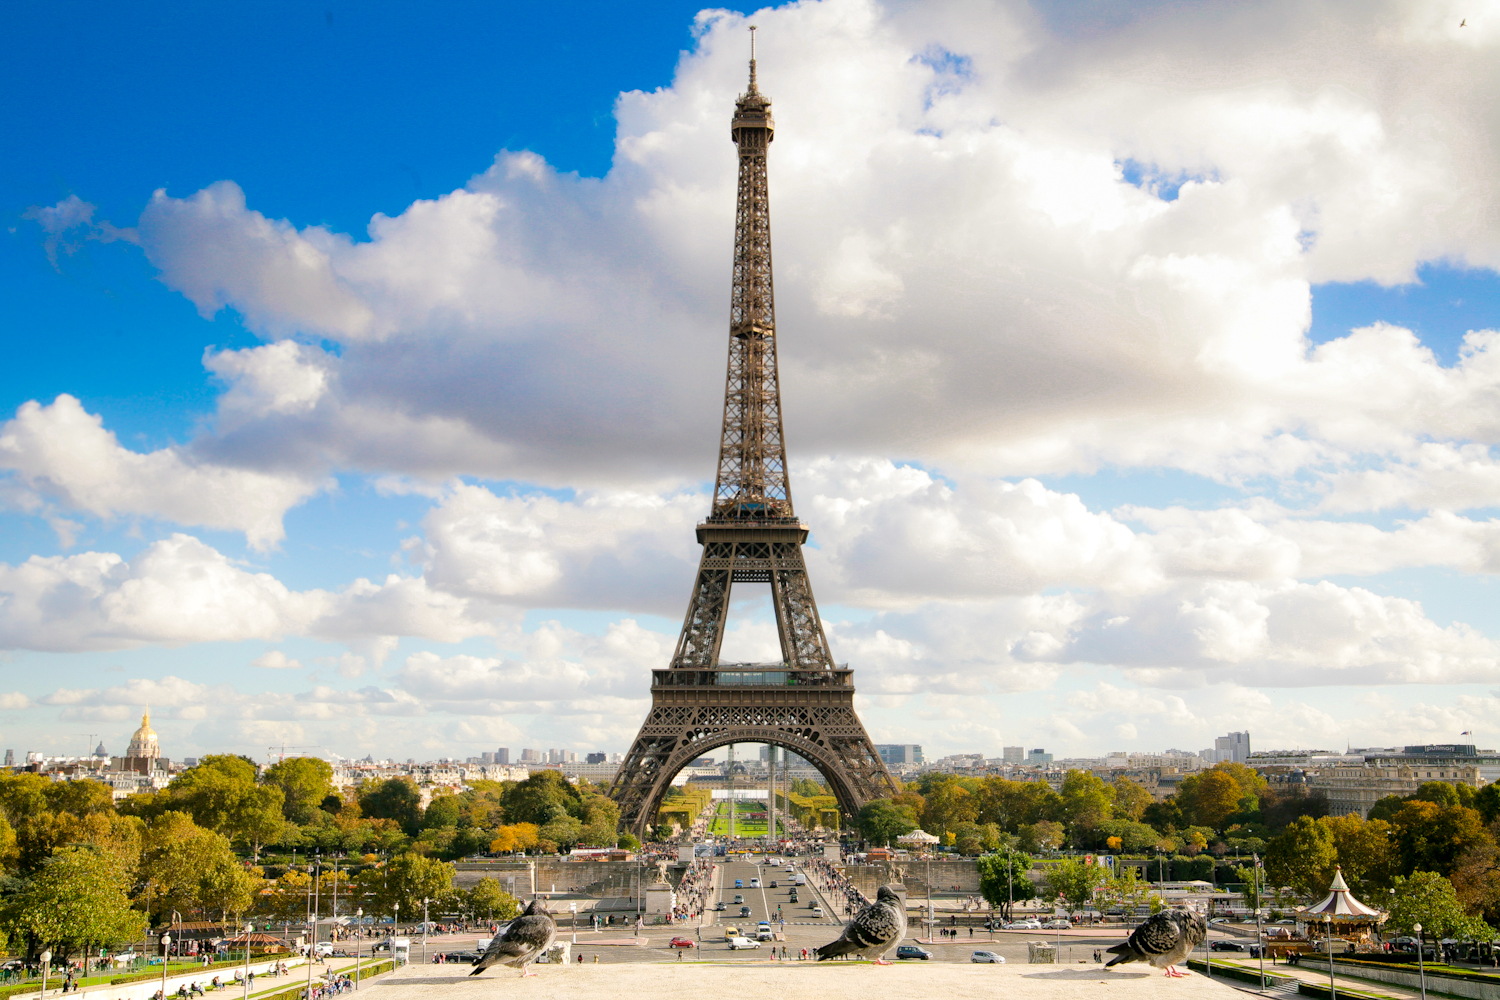
Many photographers don’t share their photo-shoot locations, but I’m really happy to – and after a few trips last year, many people have asked me the best places to shoot on location. So in my Atomic GPS series, I’m going to share my shoot locations, image by image for you all.

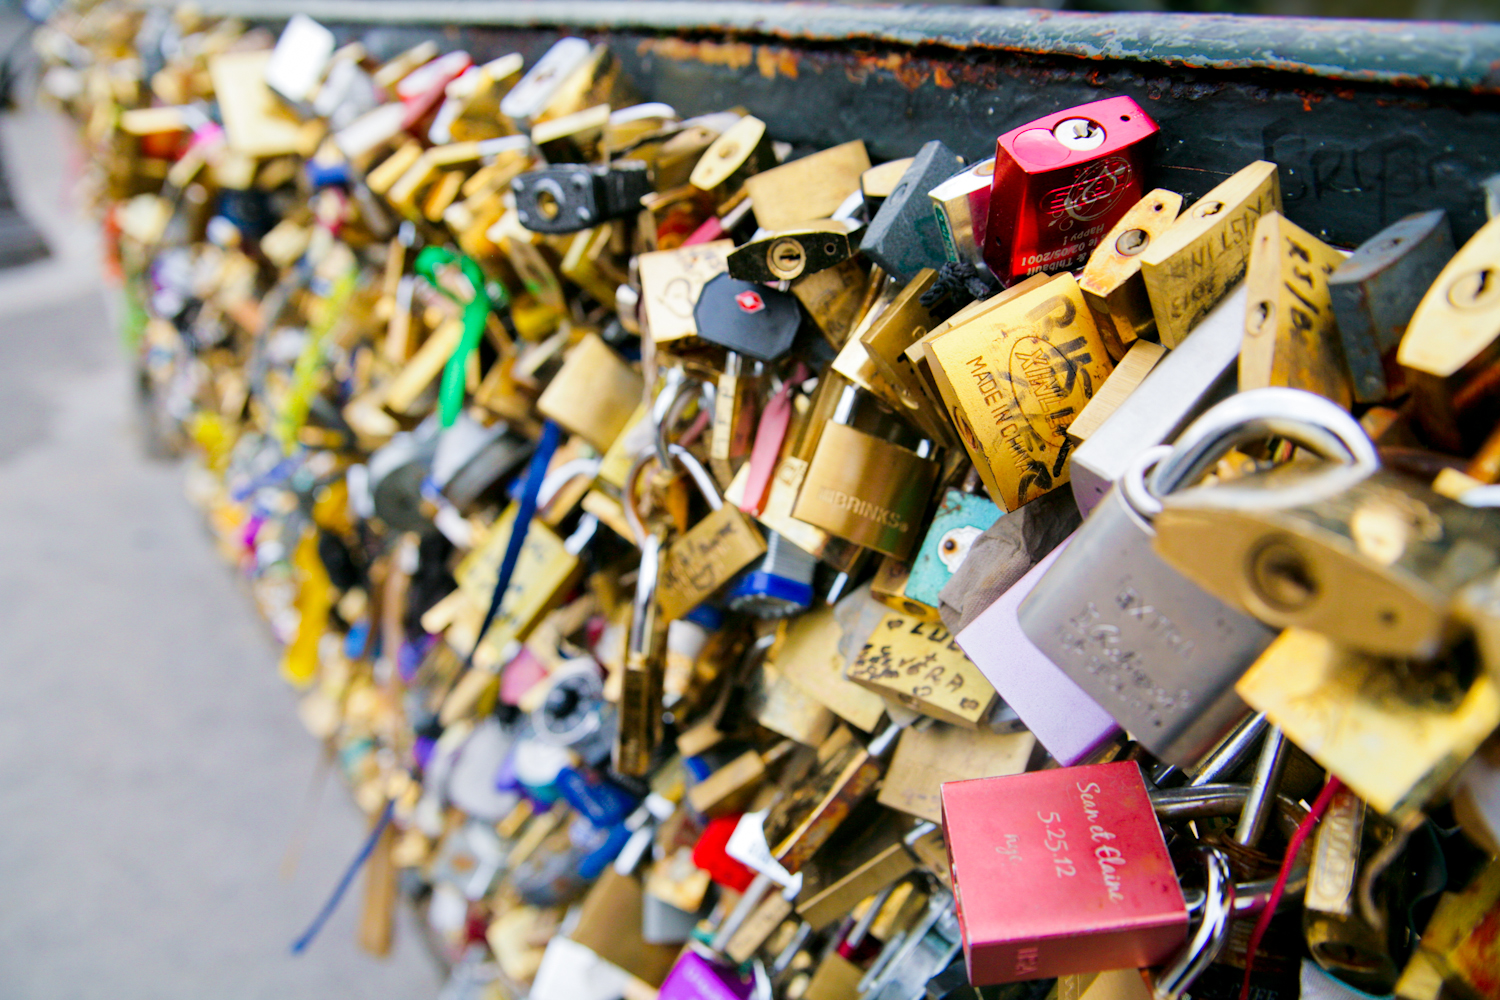
Pont de l’Archevêché – The Lock Bridge


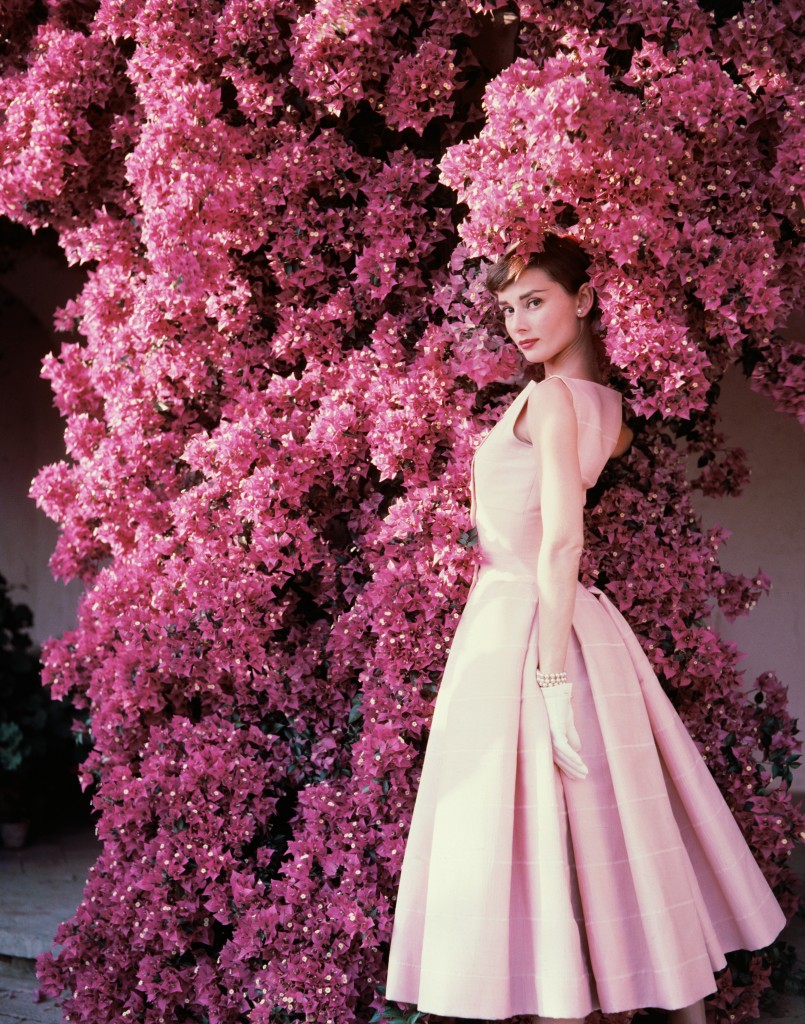
From Roman Holiday to Funny Face, Sabrina to Breakfast at Tiffany’s – since I was a child, the uninhibited laughter, and the glow of her being captivated me. Audrey Hepburn beat every other iconic star for me.
It would have been her 85th Birthday, and to celebrate her memory, here are some of my favourite images of her – lucky photographers who got to work with such a creature:


There’s an easy way to create va va voom in your images through boosting colour – but I’m not talking about flat upping the saturating here… This tutorial shows you how to boost individual colour groups without tinting the entire image in Adobe Lightroom.
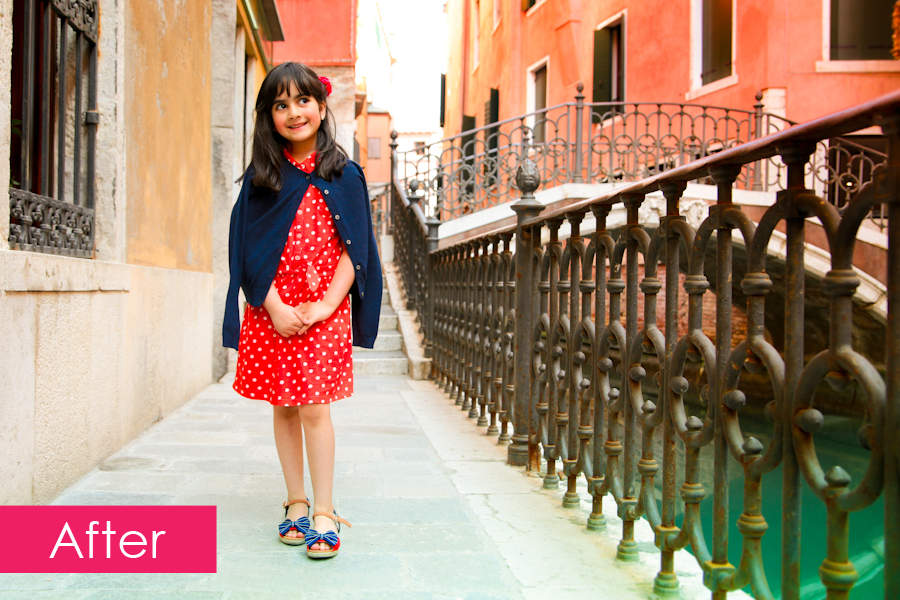
Here is my original image from a recent holiday to Venice with my daughter:

It’s a decent image, but I know from memory, her dress was redder, the water was even more turquoise, and the buildings were a more fiery orange and red. Now I want to up the colours, but I don’t want to unbalance my daughter’s skin tones, or cause image degradation through a broad brush saturation increase.
The place to boost individual colour groups, is in the Develop > HSL (Hue Saturation Luminance) > Saturation control panel.
Develop:

HSL:

Saturation:
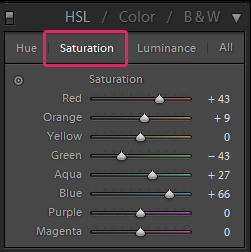
As you can see above, we can now boost the saturation of individual colours in the image, and I’ve upped my reds, blues, aqua, orange, and brought down the green a little. Have a play around with the sliders to achieve the level of boldness you desire.
The Hue mode allows you to alter the hue/shade of the colours, and the Luminance mode allows you to control the lightness or darkness of certain colours.
Finally, I did also do a +9 on overall saturation too to give the following result:
Have fun colour boosting!

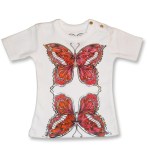
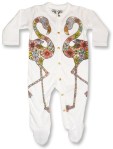
When I first saw the pitch Karen Brost had made to Selfridges for her new range of artisan babywear, I was in awe of the intricate hand drawn illustrations, with rich colours and a stunning yet dark twist on kids wear. I was in love!
So how excited was I when Karen asked me to shoot her next 14/15 collection??? Very!
With her collection snapped up by Selfridges, Liberty of London, and Alex & Alexa – the official unveiling of the collection will be this July @ the Bubble Show in London.
Watch this space for images from our awesome shoot with the cutest of kids wearing the lushest of fashions…
In the meantime you can buy her designs from the SS2014 collection from the Karen Brost London website:


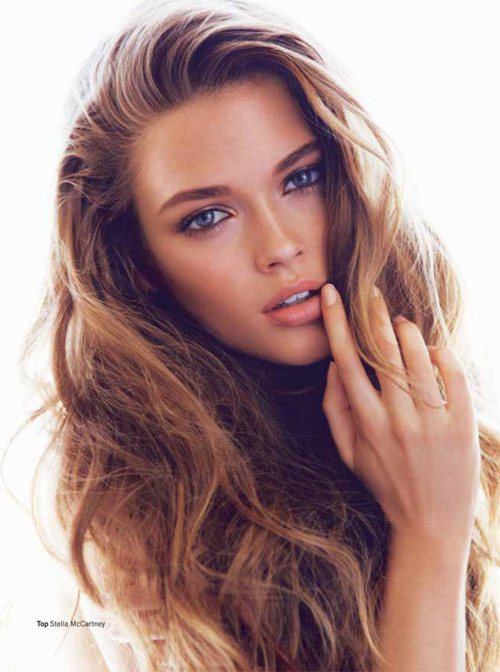
It’s been yonks (literally years) since I creatively collaborated for my portfolio, and although I’m loving shooting stuff for my clients, I’m inspired to play again for just, well me! So let me know if you’d like to play!
Here are some awesome images by other talents that are inspiring me:


I’m a sucker for glowy skin, and this set up is how I get it – working in conjunction with my make up artist (see below).
1. Large Softbox on background – to blow out the background, set this light head to a higher output than your key light.
2. Small Softbox as key light – To get shiny highlights on the cheek bone, jaw, shoulder and nose, place the key light close to the model, at a lower output to the background light to keep that background pure white! At this point, I usually take a test shot, and ask the make up artist in the team to add more shimmer or highlight to the parts of the model I really want to shine. It’s super important to collaborate closely with the make up artist even while shooting.
4. Camera settings – Shutter speed 1/160, aperture f5.6, ISO 100.

A common lighting set up for beauty photography – bright and balanced.
1. Large softbox as key light – Placed to one side of our model Kelly, you can see how the large softbox is throwing a soft even light on the left side of the image.
2. Smaller softbox as fill light – Placed at a slightly closer distance on the opposite side of the key light, the smaller soft box balances the light from the larger softbox giving a bright image that really shows off the make up and colours in the image.
3. Camera settings – Shutter speed 1/125, aperture f5.6, ISO 100.
Happy lighting!
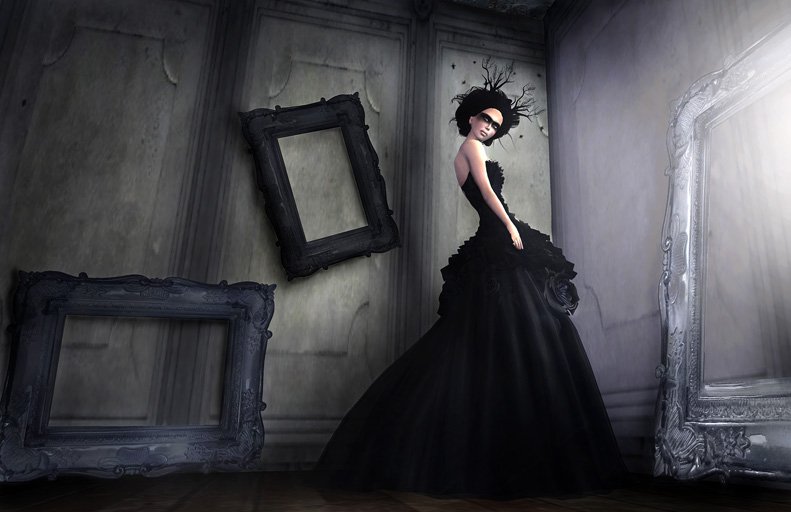
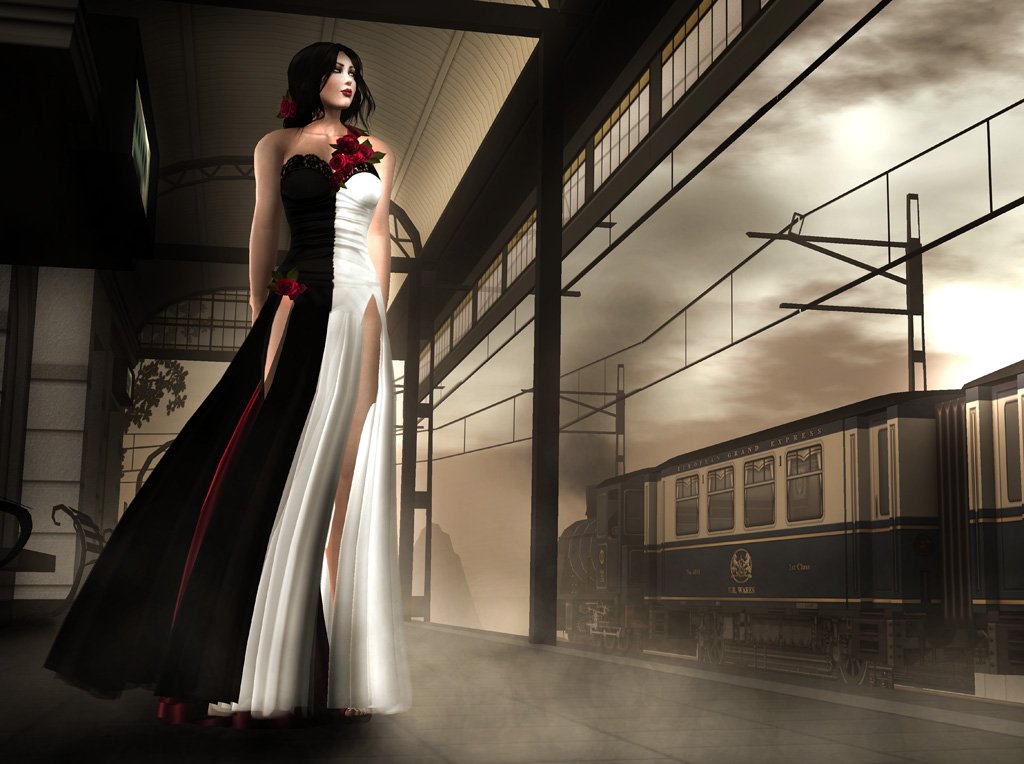
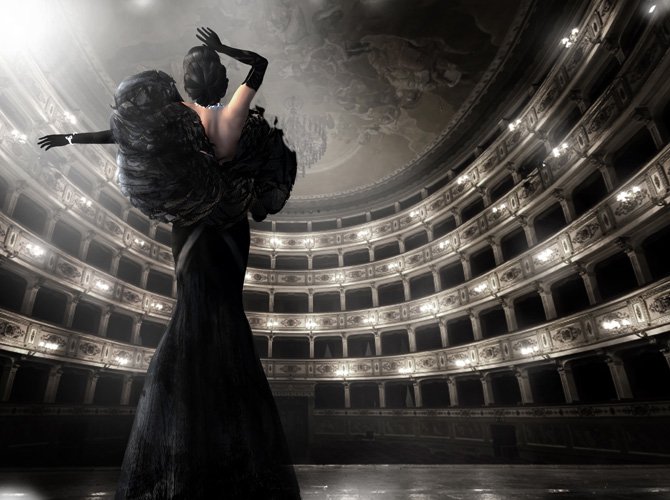
Some Second Life images I’ve shot that I’d love to replicate in Real Life…

One of the easiest lighting set ups with the most dramatic and moody effects.
1. Large softbox as key light – Placed very close to the side of our model, you can see how the large softbox is throwing a soft even light on one side of her face shoulders and arm, and creates hard deep shadows on the other side. Deep dark shadows create drama and contrast, and help create an alluring effect. Note: the closer the light to the model, the sharper the shadows.
2. Camera settings – Shutter speed 1/160, aperture f5.6, ISO 100.
Happy lighting!
