There’s an easy way to create va va voom in your images through boosting colour – but I’m not talking about flat upping the saturating here… This tutorial shows you how to boost individual colour groups without tinting the entire image in Adobe Lightroom.
Here is my original image from a recent holiday to Venice with my daughter:

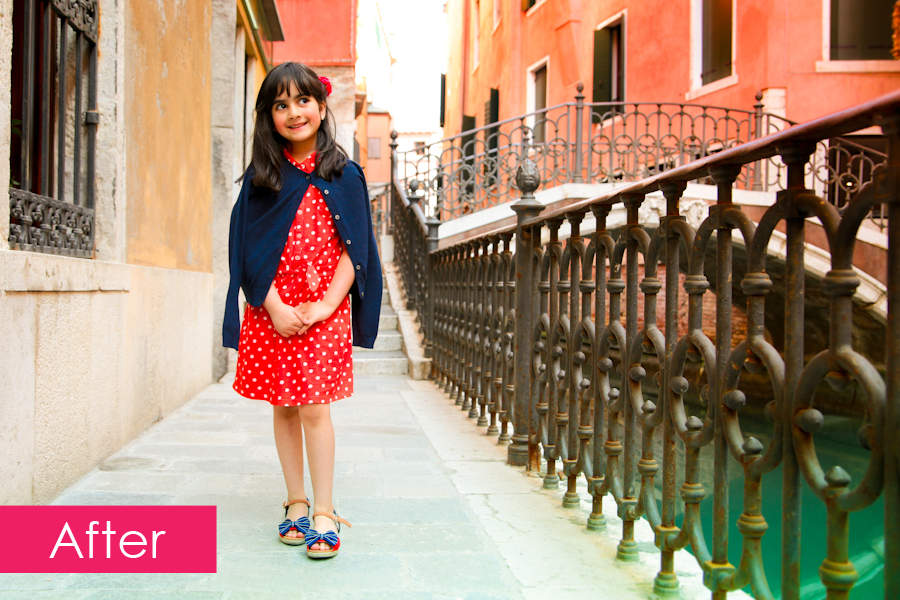
It’s a decent image, but I know from memory, her dress was redder, the water was even more turquoise, and the buildings were a more fiery orange and red. Now I want to up the colours, but I don’t want to unbalance my daughter’s skin tones, or cause image degradation through a broad brush saturation increase.
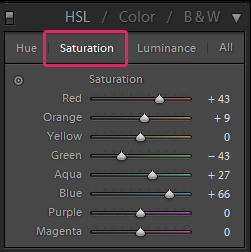
The place to boost individual colour groups, is in the Develop > HSL (Hue Saturation Luminance) > Saturation control panel.
Develop:

HSL:
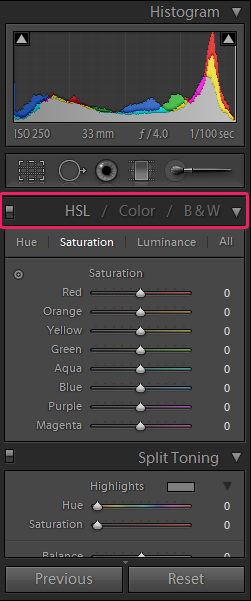
Saturation:

As you can see above, we can now boost the saturation of individual colours in the image, and I’ve upped my reds, blues, aqua, orange, and brought down the green a little. Have a play around with the sliders to achieve the level of boldness you desire.
The Hue mode allows you to alter the hue/shade of the colours, and the Luminance mode allows you to control the lightness or darkness of certain colours.
Finally, I did also do a +9 on overall saturation too to give the following result:

Have fun colour boosting!